How to Attach Hardware Cloth Over a Chain-Link Chicken Run (Fence Overlay Spec)
Disclosure: This post contains affiliate links. If you purchase through these links, we may earn a small commission at no extra cost to you.
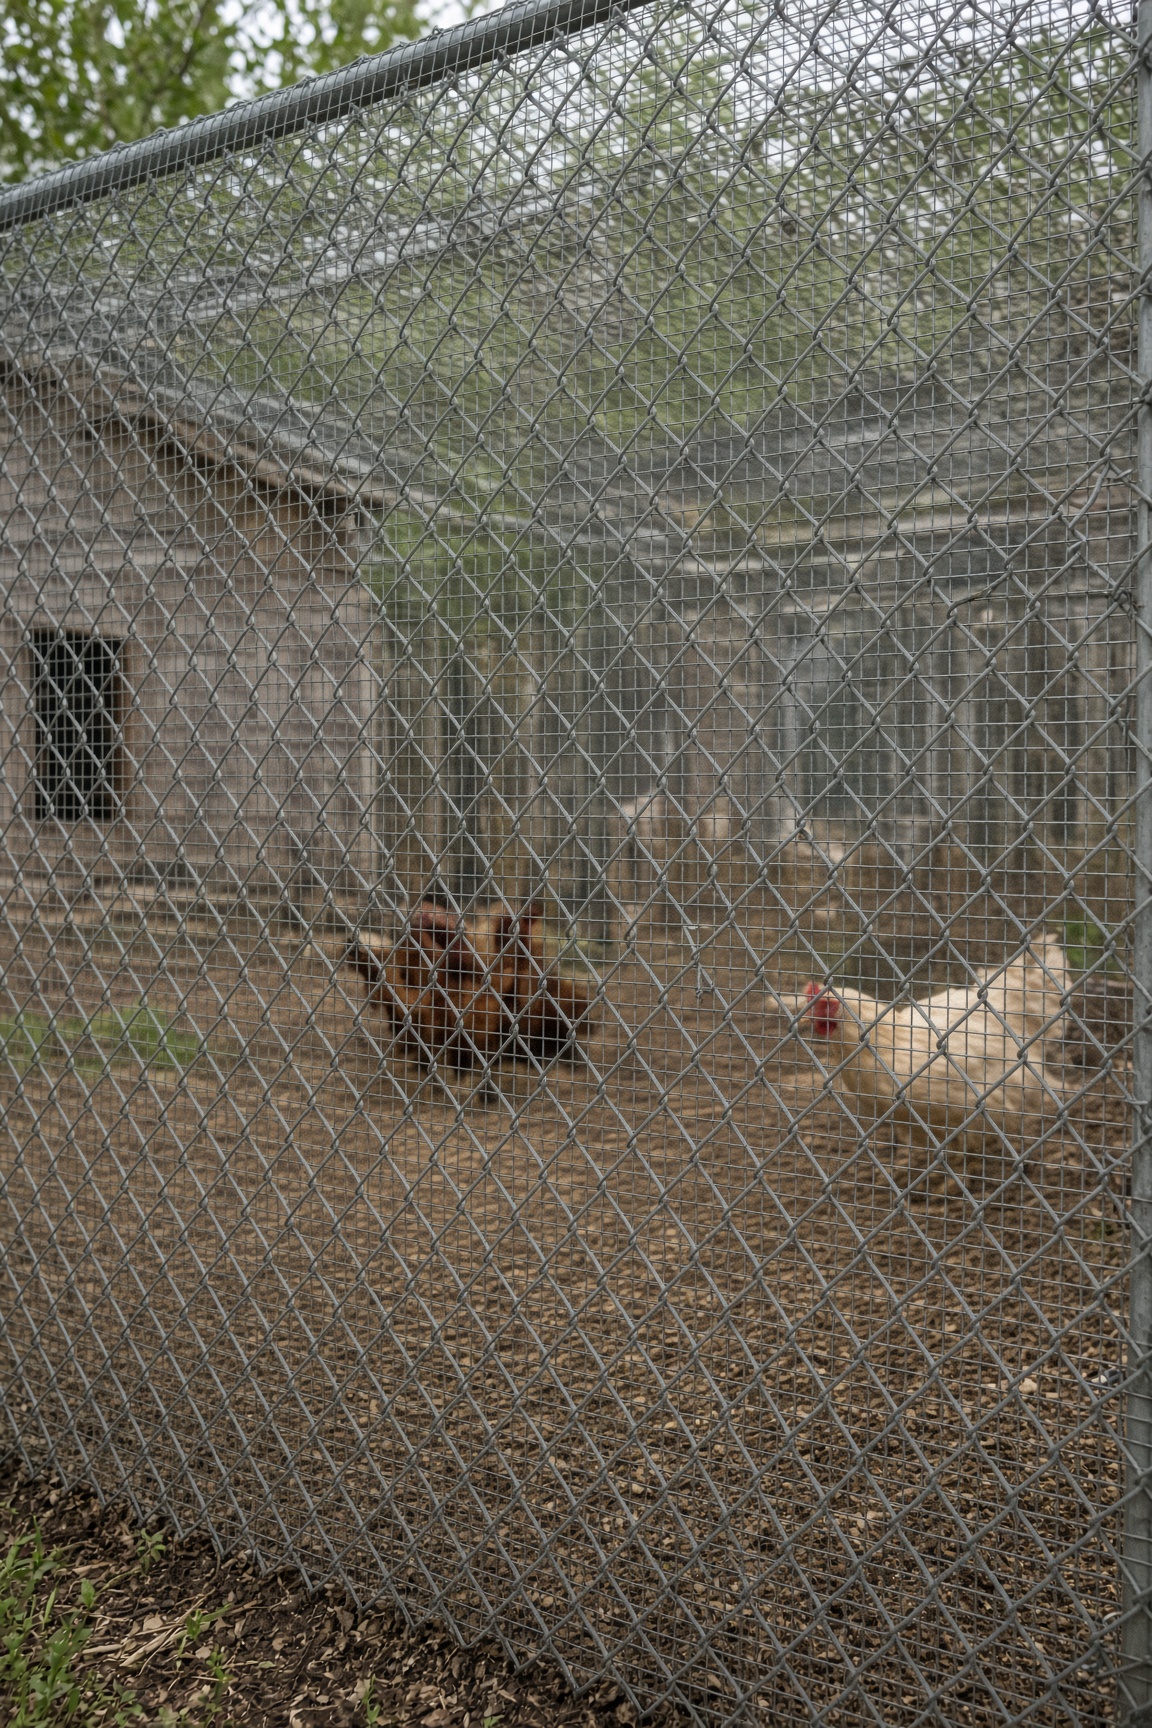
Overlay existing chain-link with 1/2-inch welded hardware cloth on one consistent face, tie it with hog rings or wire ties every 2–3 inches on posts and rails and every 4–6 inches in the field, lap panels 2–4 inches, and turn the bottom into an 18–24 inch apron. Close the top rail and the gate leaf the same day.
Chain-link keeps chickens in, not predators out. UC IPM’s raccoon pest note says ordinary fences will not keep raccoons out because they dig under or climb over, and they enlarge holes in wire fences.
When You Need This
Use this when you are:
- Retrofitting an existing chain-link chicken run with 1/2-inch hardware cloth on the fence face
- Closing reach-through after a raccoon worked a diamond opening or pawed at the gate post
- Extending overlay mesh into an apron at the ground line so diggers cannot flank the fence
- Adding a top rail / eave closure where climbers or hawks use the open chain-link crown
Skip this if you are building a new wood-framed run from scratch—clad the wood frame directly instead of overlaying soft diamond fabric. Diggers under the perimeter still need a proper apron. The swinging people gate is its own run gate cover job (overlay the leaf or clad it).
Soft vents and windows on the coop need their own covers. Overhead runs still need a supported roof cover. A solid fence overlay does not fix a latch a raccoon can flip; finish the coop door as its own job.
Why Chain-Link Alone Fails as a Predator Barrier
Chain-link is livestock containment mesh, not predator mesh. A raccoon reaches through a diamond, pins a bird against the wire, and pulls. University of Kentucky Extension (ID-245) adds that raccoons may work in pairs, one scaring the flock to one end of the pen while the other grabs birds huddled against the fence.
Soft tension at the bottom rail leaves a dig lip. An open top invites climbers and aerial pressure. Hog-ringing chicken wire over chain-link only adds another soft layer that stretches.
Rules of thumb that fail:
- Leaving bare chain-link “because the diamonds look small enough”
- Overlaying soft hex chicken wire instead of welded 1/2-inch hardware cloth
- Zip-tying overlay every 8–12 inches so climb shake opens a peel start
- Stopping overlay at the bottom rail with no apron continuity into the soil
- Overlaying the fence face but leaving the gate leaf as bare chain-link or soft hex
- Treating chain-link as structural backup that somehow makes light ties acceptable
Spec: Overlay Mesh, Ties, Bottom, Top, Gate
| Spec | Target | Why |
|---|---|---|
| Overlay mesh | 1/2-inch welded hardware cloth on the inside or outside face (pick one face and stay consistent) | Closes reach-through; welded wire does not stretch like hex |
| Tie / hog-ring spacing | Every 2–3 inches along posts, top rail, bottom rail, and mid-height horizontal lines; every 4–6 inches on field diamonds between those lines | Dense edge ties stop peel; field ties keep the overlay from ballooning |
| Vertical panel joins | 2–4 inch lap, tied every 2–3 inches (same seam discipline as wall joins) | Chain-link behind a butt gap still leaves a pry V in the overlay |
| Bottom dig continuity | Overlay turns out or down into an 18–24 inch apron, or laps existing apron mesh 2–4 inches | Fence face alone does not stop diggers |
| Top / eave closure | Overlay meets top rail; add a 2–4 inch turn over the rail or continue into roof mesh | Open crown = climb and drop-in path |
| Gate leaf | Overlay or clad the leaf; do not leave bare chain-link on the swing opening | Gate is the easiest reach-through on most runs |
| Wood battens / sister rails | Add 1×2 or 2× sister boards on posts/rails when ties alone pull out of soft tension fabric or you need staple/washer-screw landings | Chain-link wire is a poor staple substrate; wood gives real fastener bite |
| Fasteners into wood (when battens exist) | Staples every 1–2 inches on batten edges; washer screws at corners and every 12–18 inches | Same peel resistance as framed walls |
Do not use insect screen, soft hex chicken wire, or bird netting as the overlay. Do not rely on zip ties alone as the primary fastener. Do not call the job done while the bottom, gate, or top still show daylight reach paths.
Inside face vs outside face
- Inside face (common retrofit): hardware cloth on the chicken side; ties through both meshes; birds cannot snag as easily on outside cut wires; predators still face 1/2-inch openings from outside through the chain-link
- Outside face: hardware cloth on the predator side; slightly better peel geometry against climb pull from outside; protect cut wires and keep apron lap clean at grade
- Pick one face for the whole run. Mixing faces at corners creates a step predators work.
Install Path (Chain-Link Overlay)
1. Inspect tension, posts, and breach lines
Walk the run. Mark loose bottom tension, bent posts, open top rail gaps, and the gate leaf. Tighten or repair chain-link that is so slack the overlay will rattle.
Decide inside vs outside face. Plan apron continuity at every post.
2. Cut panels and plan 2–4 inch vertical laps
Wear gloves and eye protection. Cut 1/2-inch hardware cloth to fence height plus bottom apron allowance (or plus a 2–4 inch lap onto an existing apron) and plus a top-rail turn if the crown is open.
Where two overlay panels meet, plan a 2–4 inch lap tied every 2–3 inches. Deburr wires that would sit at bird or hand height.
3. Hang and tie the overlay to the chain-link
Start at a corner post. Pull the first panel flat against the chosen face. Install galvanized hog rings or stainless/galvanized wire ties every 2–3 inches along the post, top rail, and bottom rail.
Add a mid-height horizontal tie line on tall fences. In the field between those lines, tie every 4–6 inches so the overlay cannot balloon away from the diamonds under climb push. Work panel to panel with full laps—do not butt edges over a diamond opening.
4. Close the bottom into the apron
At grade, either (a) turn the overlay out into an 18–24 inch buried or rock-covered apron continuous around the run, or (b) lap the overlay onto an existing apron by 2–4 inches and tie/fasten the lap so diggers cannot find a seam. Do not stop the predator mesh at the bottom rail with bare soil under the chain-link knuckle.
5. Close the top / eave and decide on roof
Turn overlay over the top rail 2–4 inches and tie every 2–3 inches, or continue the mesh into a supported roof panel. An open chain-link crown with a hard wall face only moves pressure upward. Do not stretch unsupported mesh across a wide bay and call it a roof.
6. Overlay or clad the gate leaf separately
Treat the swinging leaf as its own job. Either overlay 1/2-inch hardware cloth on the gate chain-link with the same tie density, keeping hinge barrels clear, or clad a wood gate leaf.
Close the latch-post light gap when the leaf shuts. Continue apron logic under the swing line so diggers do not use the gate threshold.
7. Add battens or sister rails where ties alone fail
If hog rings tear out, the chain-link is too soft to hold tension, or you need washer-screw peel resistance at a corner, screw treated 1×2 battens or 2× sister rails to posts and rails, then staple and washer-screw the hardware cloth into that wood every 1–2 inches on edges (12–18 inches for washer screws on long runs).
8. Outside reach-through and pull test
From outside, try to fit fingers through any remaining diamond that is not backed by 1/2-inch mesh—if you can, add ties or a patch. Pull hard on mid-bay overlay and every post line; any lift means denser ties or a batten.
Confirm bottom apron, gate, top rail, and coop night door are not the new breach. Floor dig-up under a raised coop is a separate underlay job; do not skip the exterior apron because the fence face looks solid.
How Much Mesh for a Chain-Link Overlay
Overlay uses roughly the fence area plus laps, apron turn-out, and top turn:
(perimeter_ft × fence_height_ft) × 1.25 ≈ sq ft for face + vertical laps + top turn
Add apron separately: perimeter_ft × (apron_width_ft) ≈ apron sq ft (typically 1.5–2.0 ft width).
Example: a 10×20 foot run, 6 feet tall → perimeter 60 ft → 60 × 6 × 1.25 ≈ 450 sq ft face, plus ~60 × 1.75 ≈ 105 sq ft apron if you turn the overlay out. That is more than one small roll—buy the 1/2-inch roll with margin; do not shrink laps or skip the apron to “save” mesh.
Required Hardware
This is the workhorse 1/2-inch roll for chain-link overlays and the apron they turn into. Cut panels so every vertical join laps 2–4 inches, tie the overlay tight to the diamonds, and continue into the apron so reach-through and dig paths close together.
Use it when: you are overlaying a chain-link chicken run and need stiff 19-gauge 1/2-inch mesh that stays flat against the diamonds.
Common Chain-Link Overlay Mistakes
- Bare chain-link as the predator barrier. Reach-through wins on a quiet night.
- Soft chicken wire over the diamonds. It stretches; the breach moves with it.
- Zip ties every 8–12 inches. Climb shake opens a peel pocket overnight.
- Overlay stops at the bottom rail with no apron. Diggers ignore the fancy face mesh.
- Fence done, gate still bare chain-link or soft hex. The leaf becomes the door.
- Open top rail / no roof while walls are hard—climbers and aerial pressure move up. Finish the roof when the run needs overhead cover.
- Overlay done while apron, gate, seams, or the coop door stay soft—predators move to the next opening.
Quick Overlay Checklist
- 1/2-inch welded hardware cloth on one consistent face of the chain-link
- Hog rings / wire ties every 2–3 inches on posts and rails; every 4–6 inches in the field
- Vertical panel laps 2–4 inches, tied every 2–3 inches; no butt gaps over diamonds
- Bottom continuous into 18–24 inch apron (or 2–4 inch lap onto existing apron)
- Top rail turn or continuation into supported roof mesh
- Gate leaf overlaid or clad; latch-post light gap closed; hinge barrels clear
- Battens / sister rails where ties alone fail; outside reach-through + pull test passed
- Apron, gate, roof, vents, and coop door still get their own jobs


Comments
Post a Comment